This article is a making of about the artwork “Self portrait 1k0 2k16“, a full CG scene I created.
Here you’ll find explanations about some of the processes I used to model the meshes, texture elements, render the scene and you will also have access to time lapse videos and 3D meshes in your browser.
Navigation
Modelling


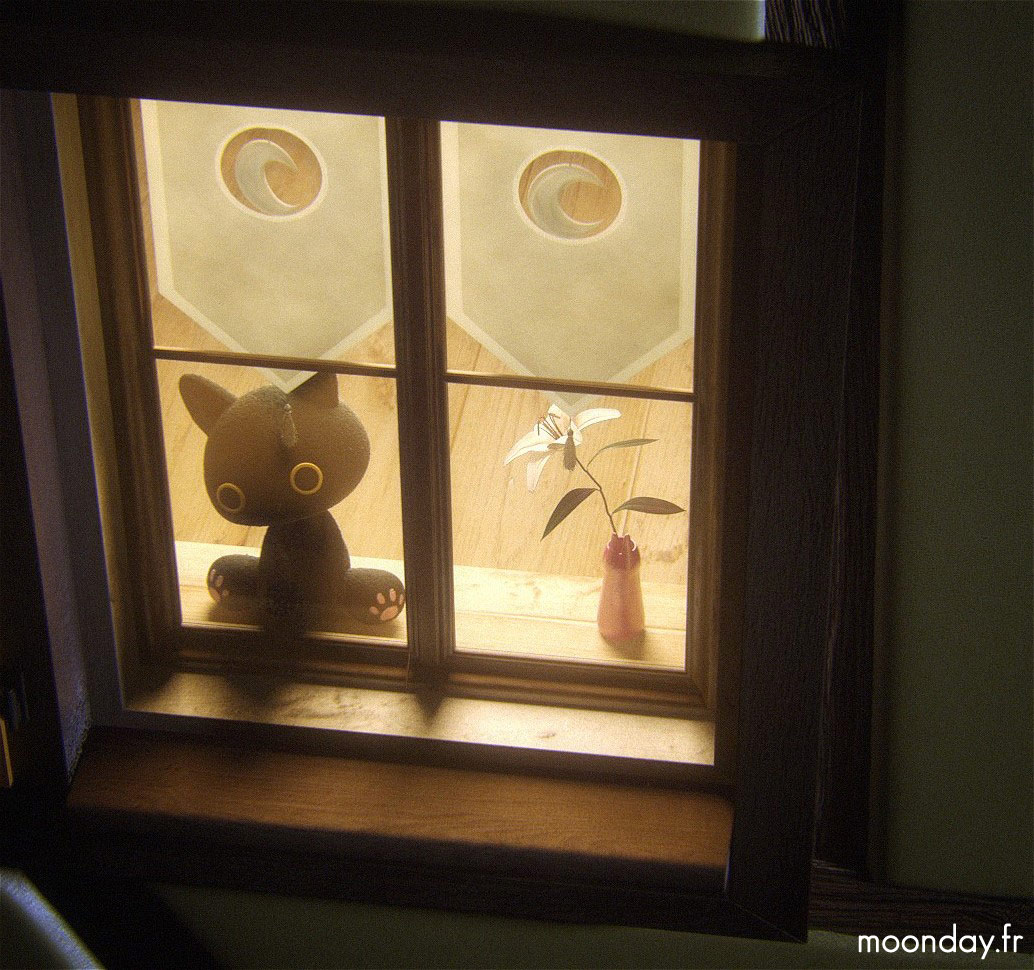
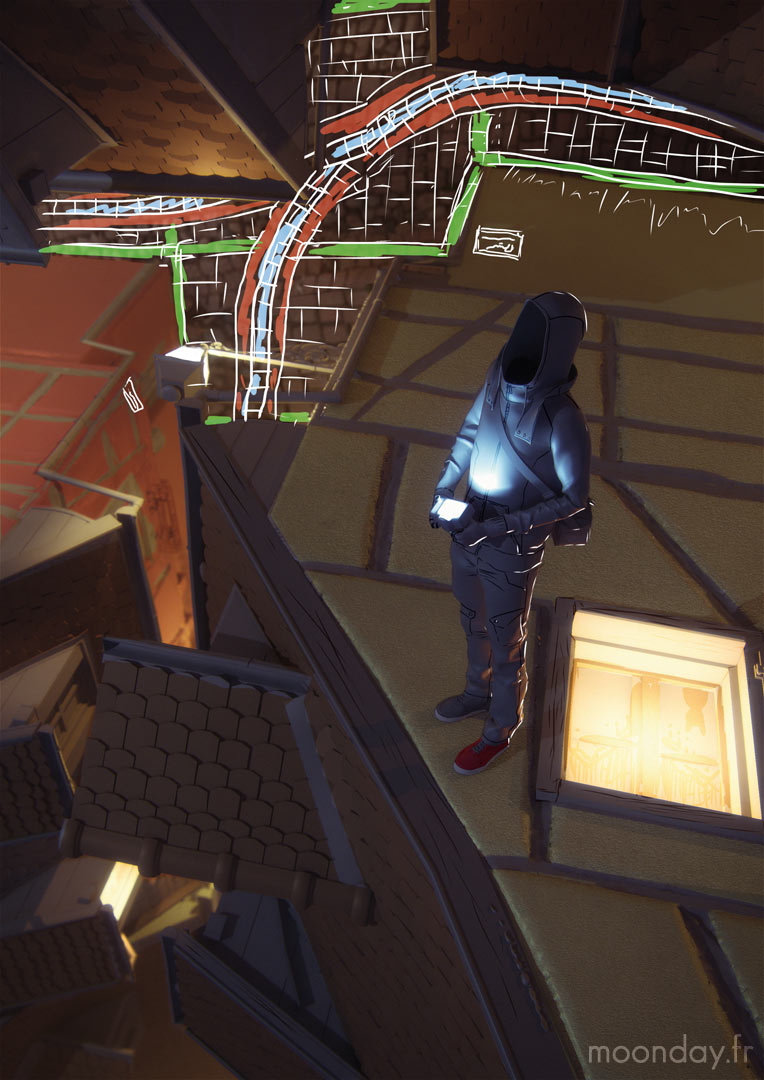
Somehow, modelling was the easiest part of the work on this image. I recycled house models from Christmas in Alsace project, adjusted some parts here and there to get better mesh definition like for the wall the character stands on.
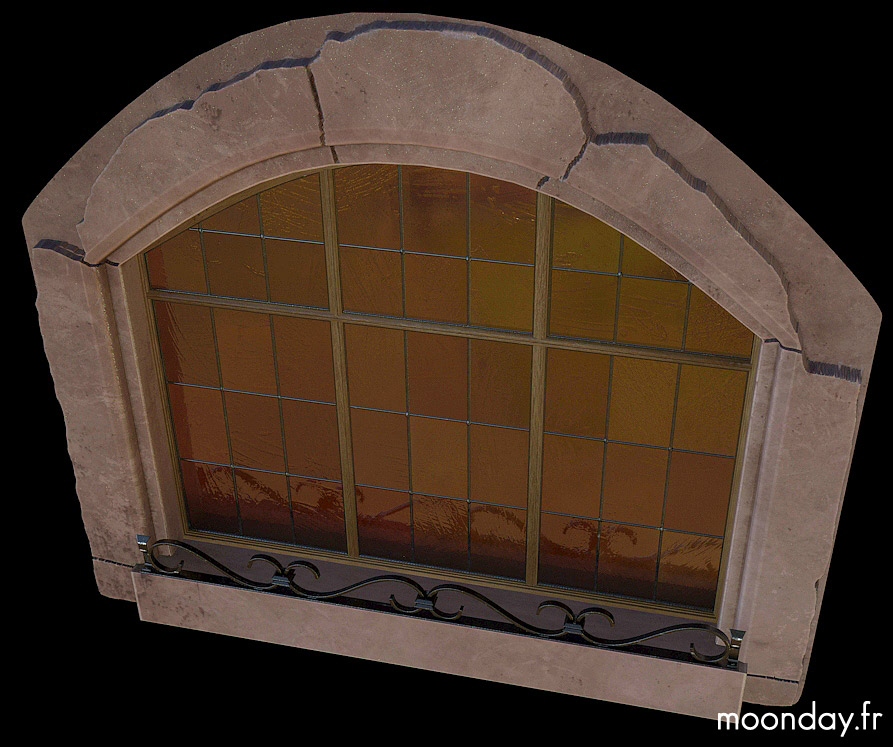
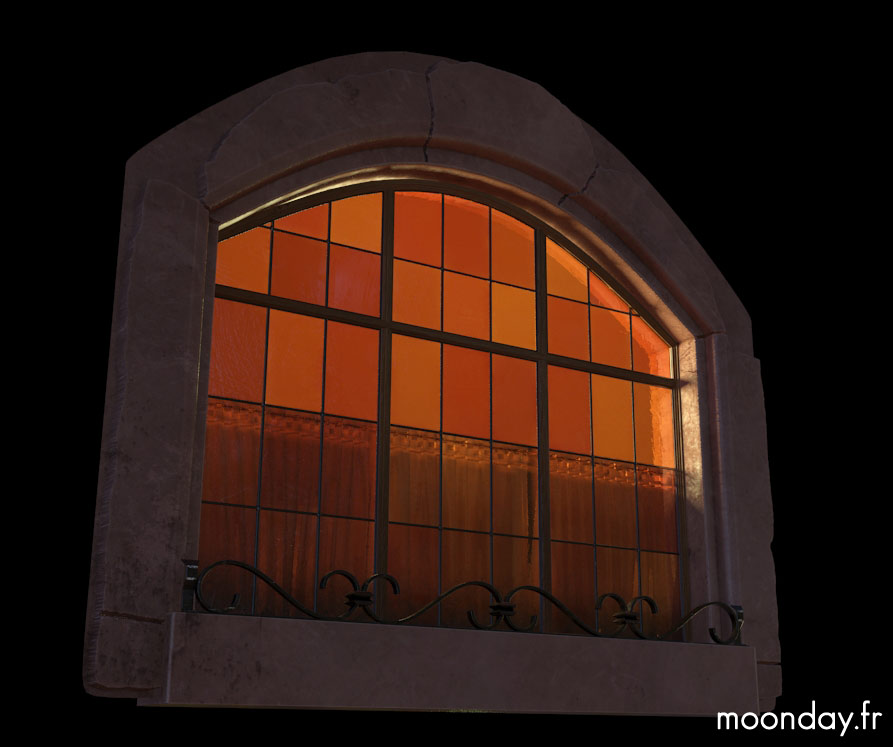
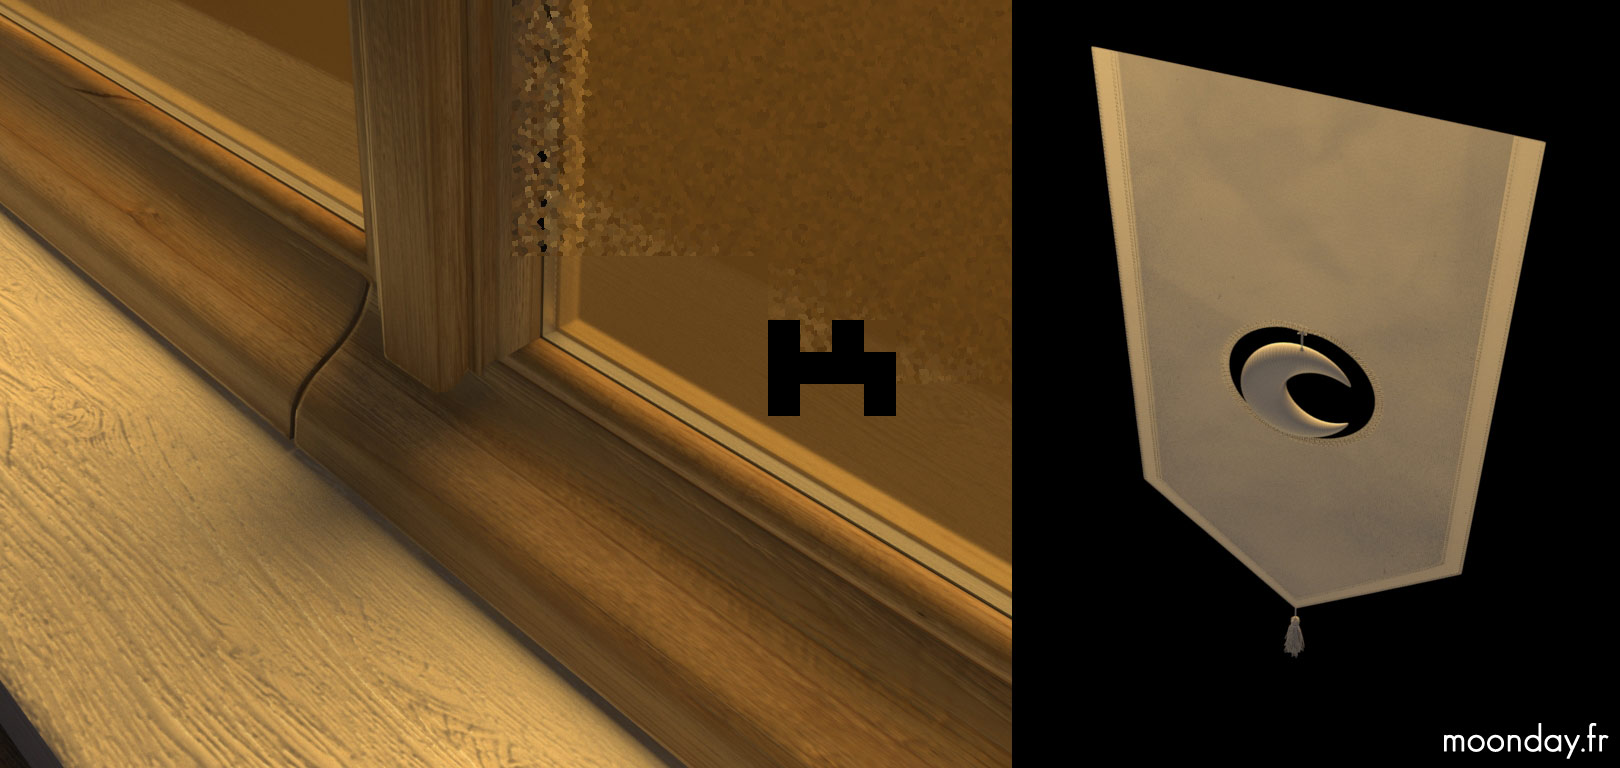
The rest of the environment was fairly simple models, boxes and splines for the storefront and windows, all based on real world references.
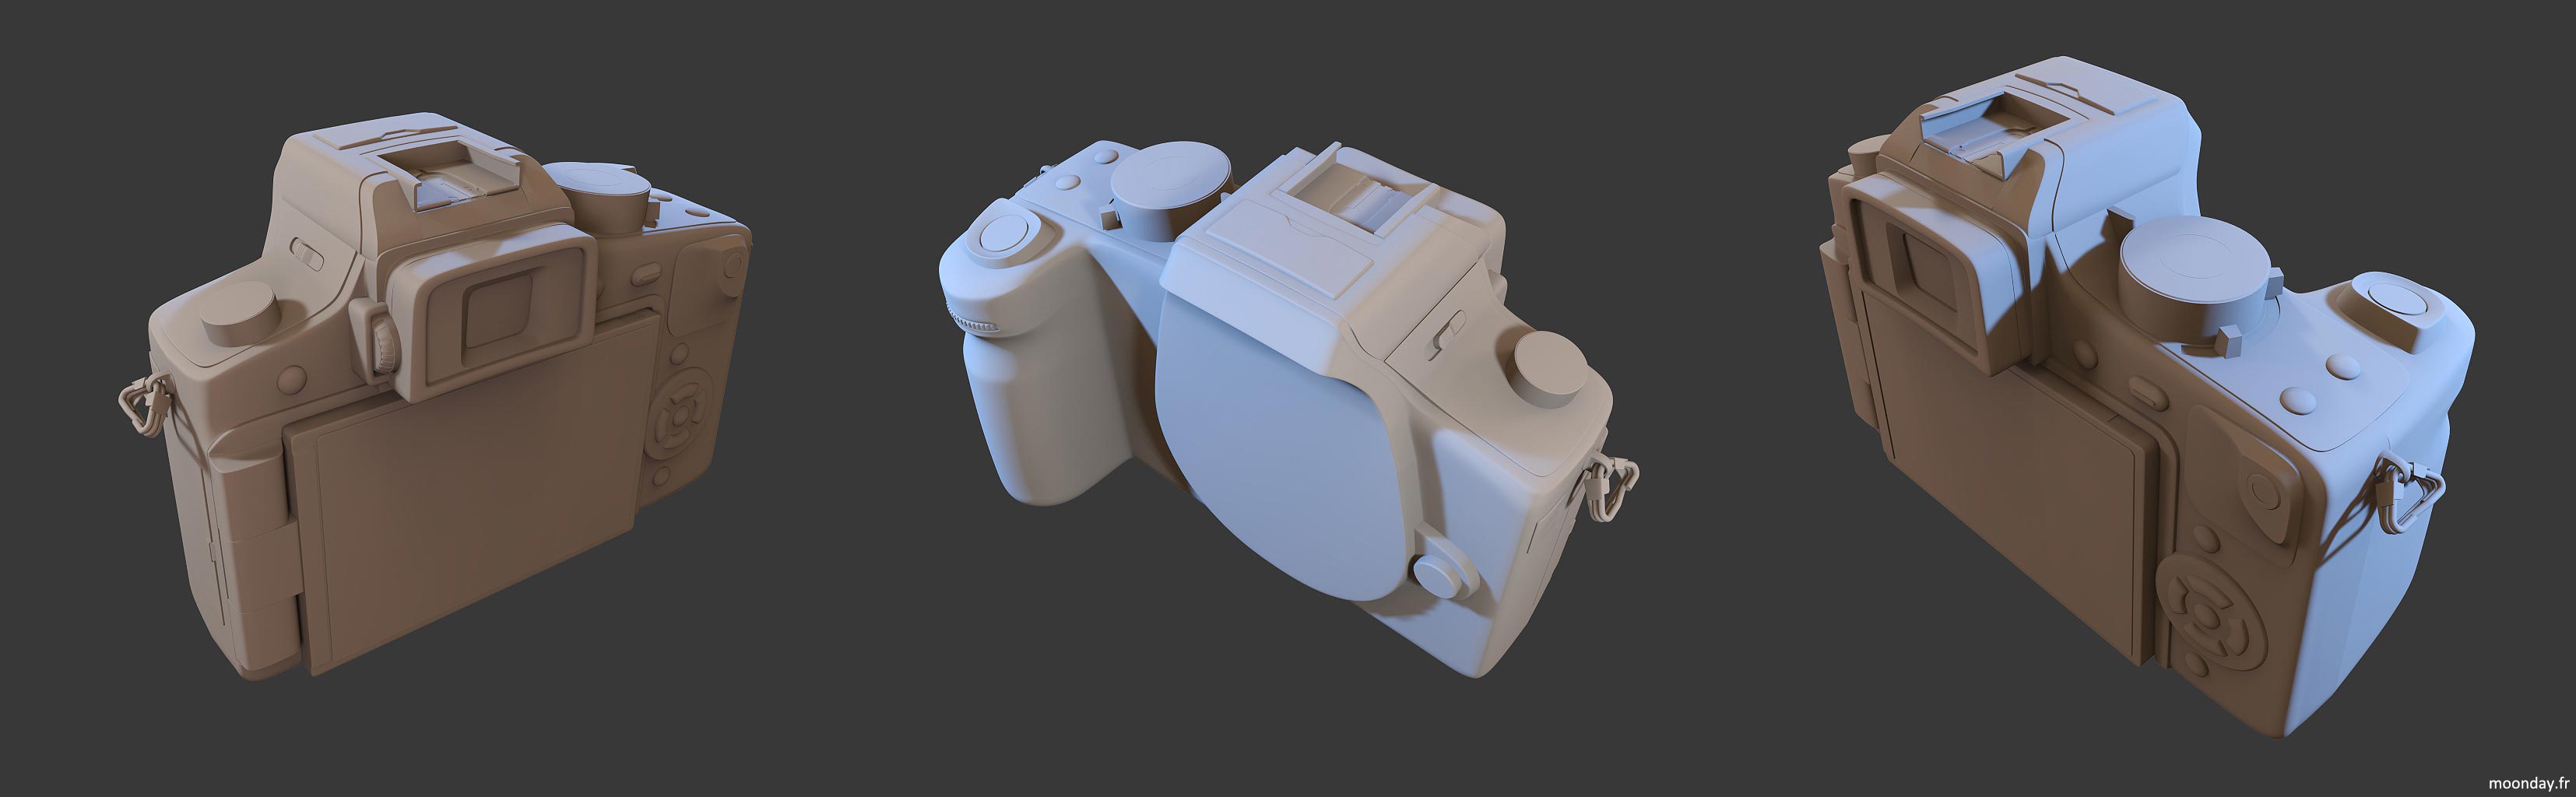
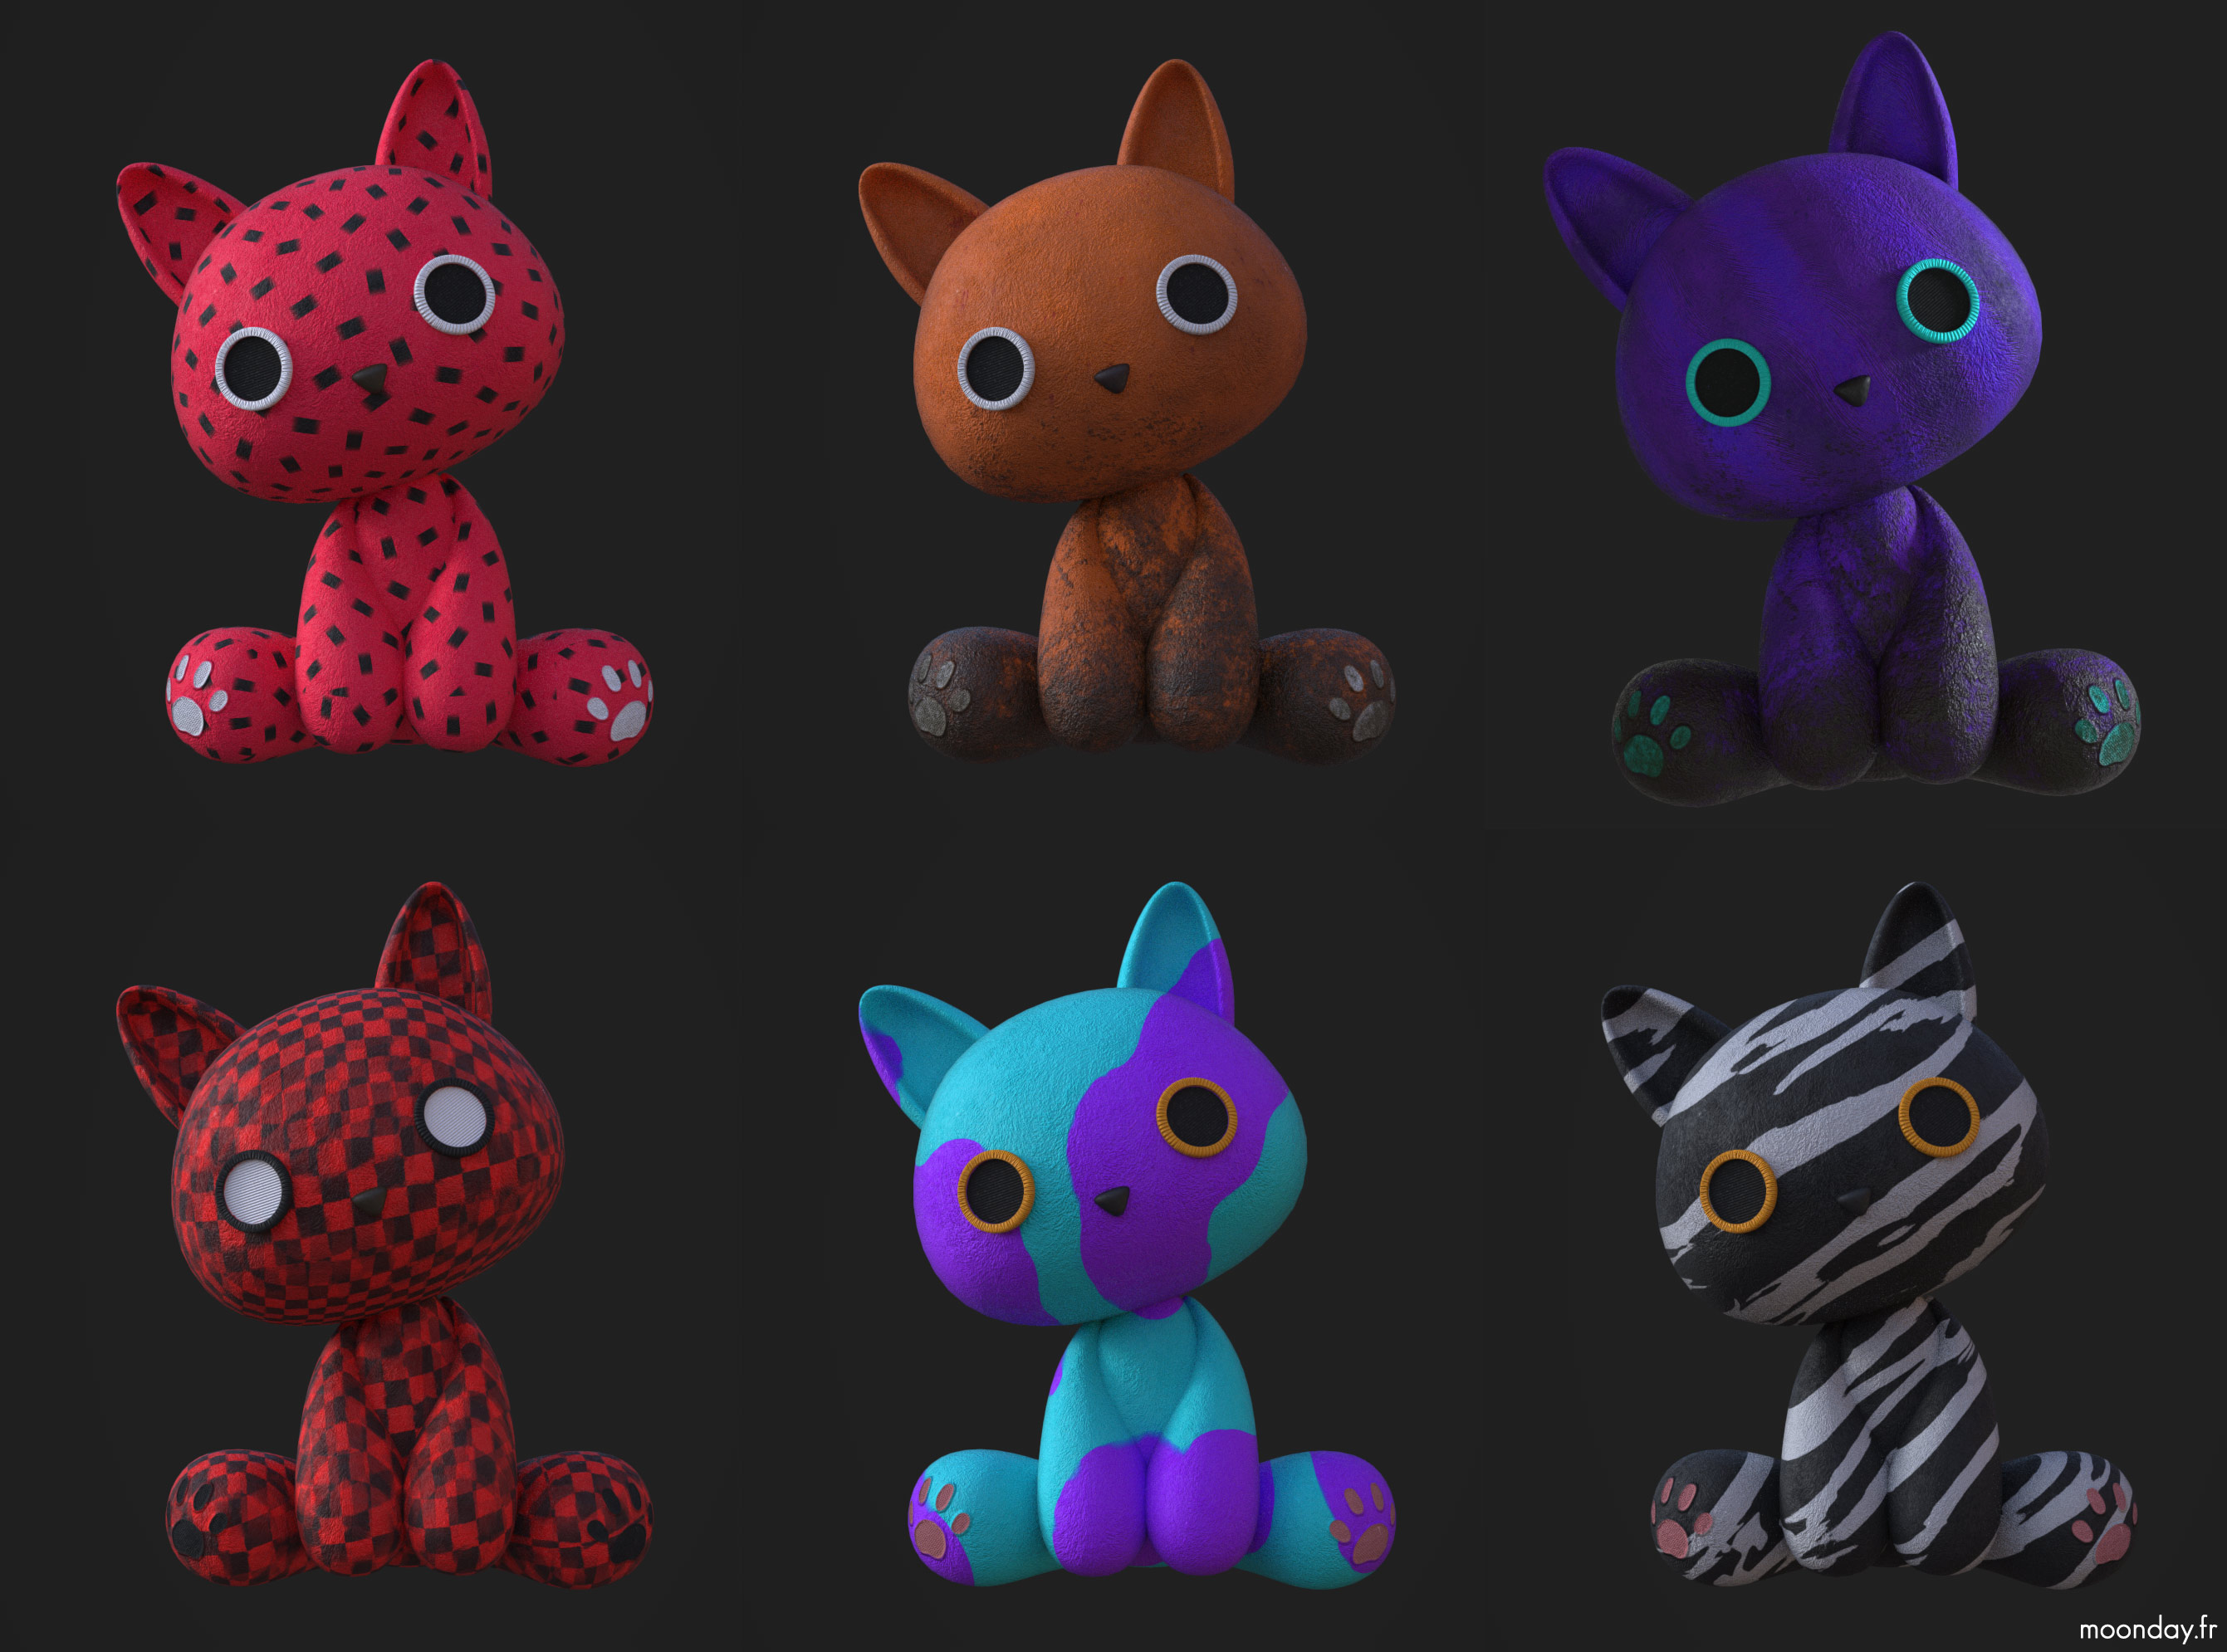
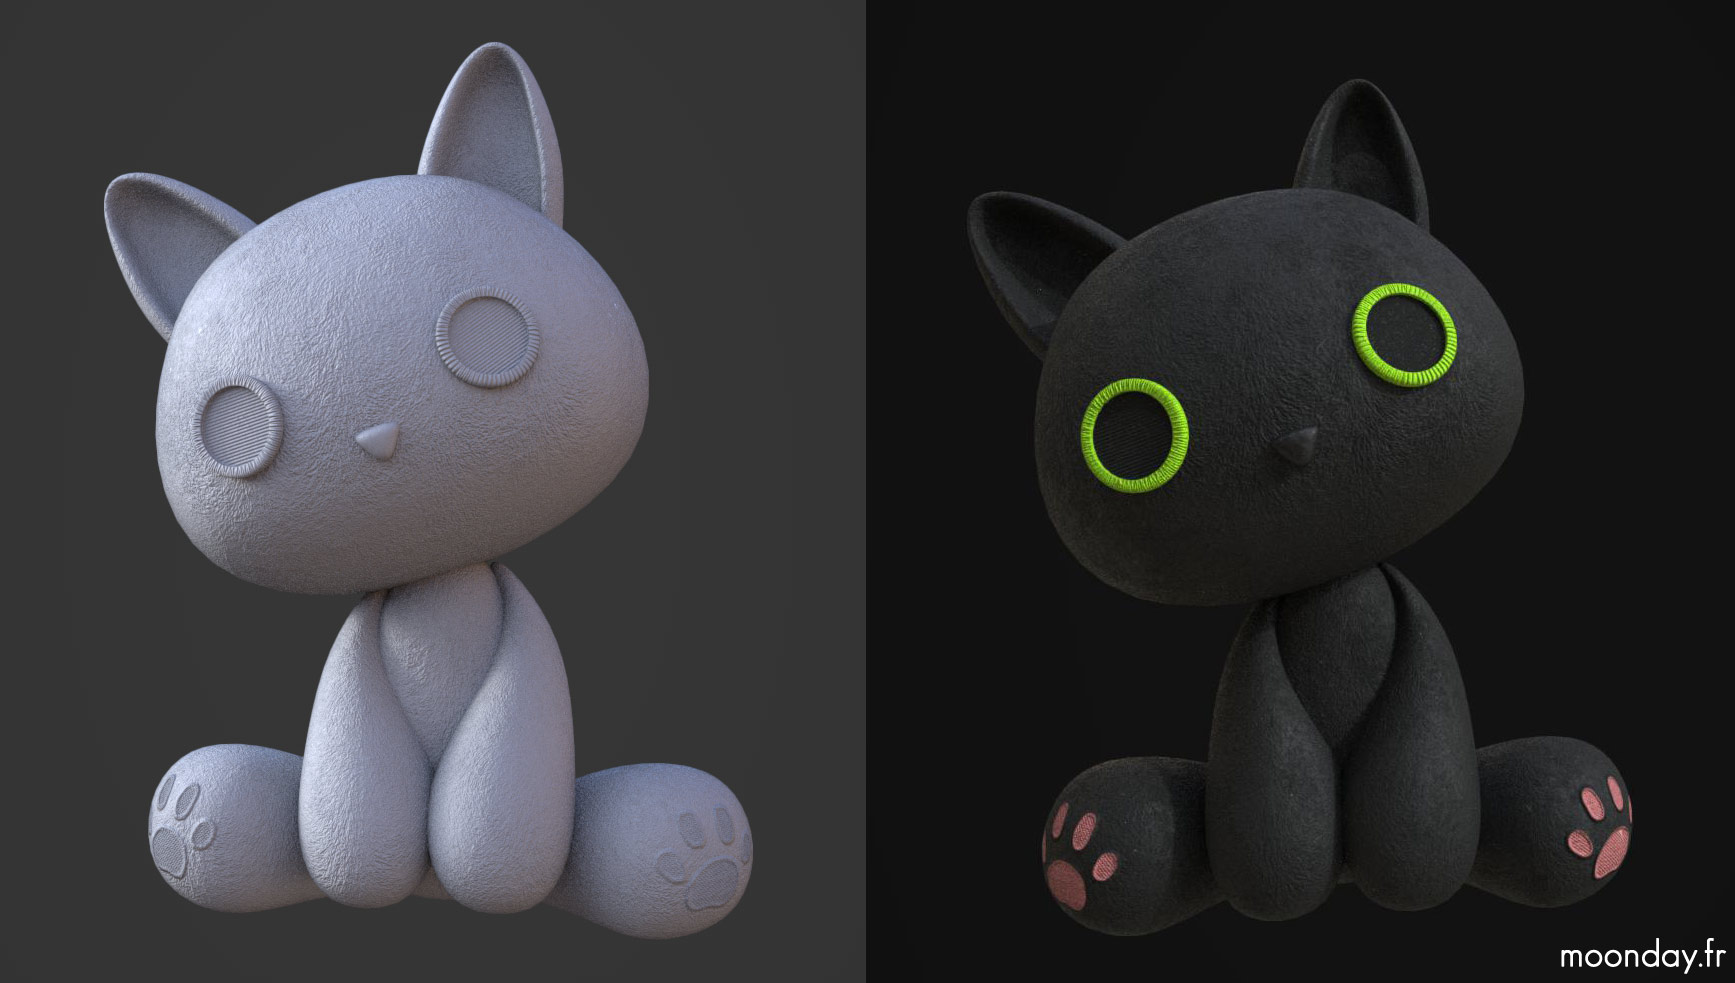
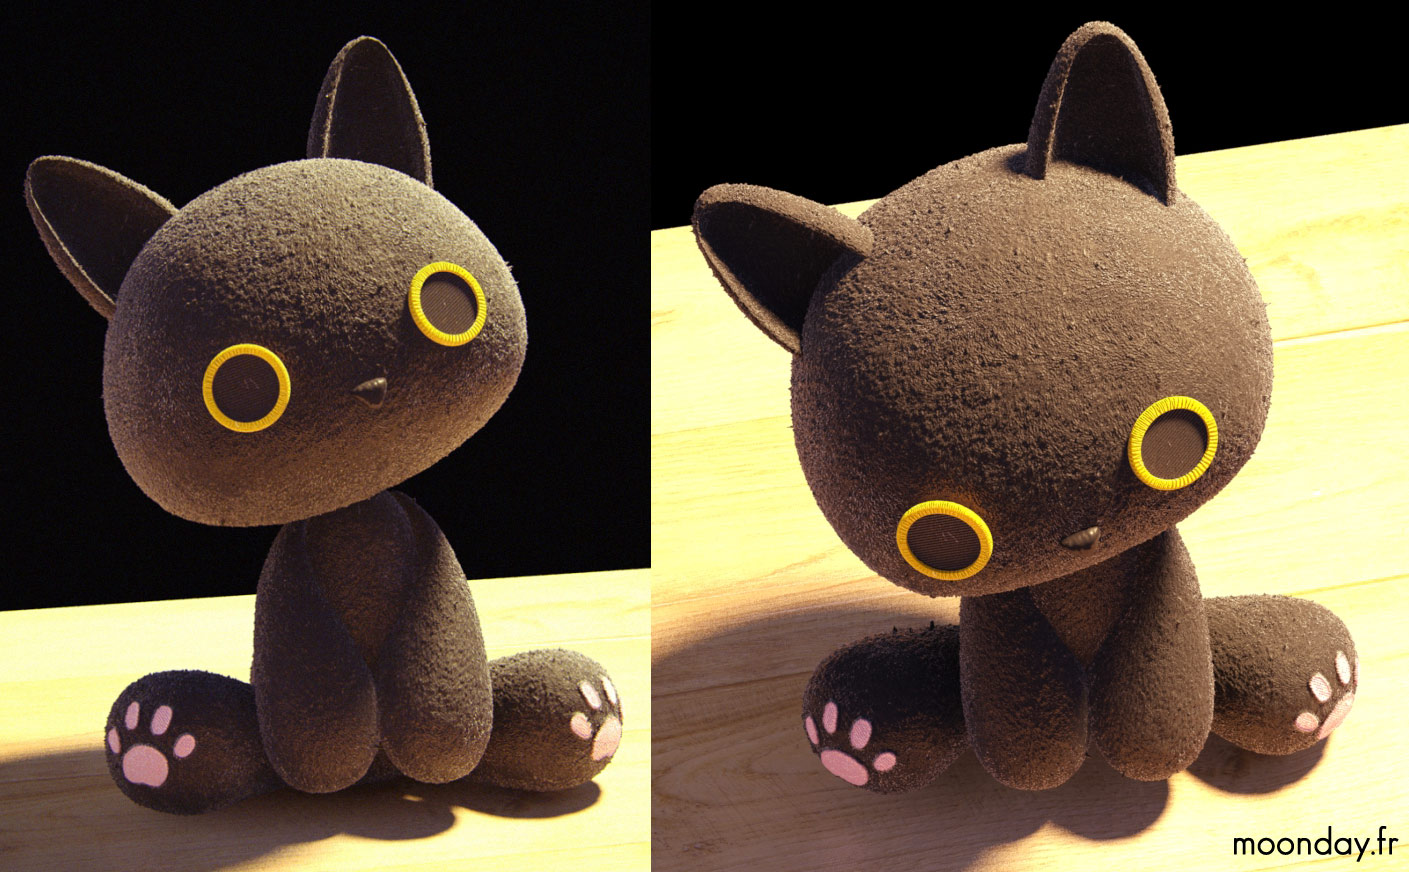
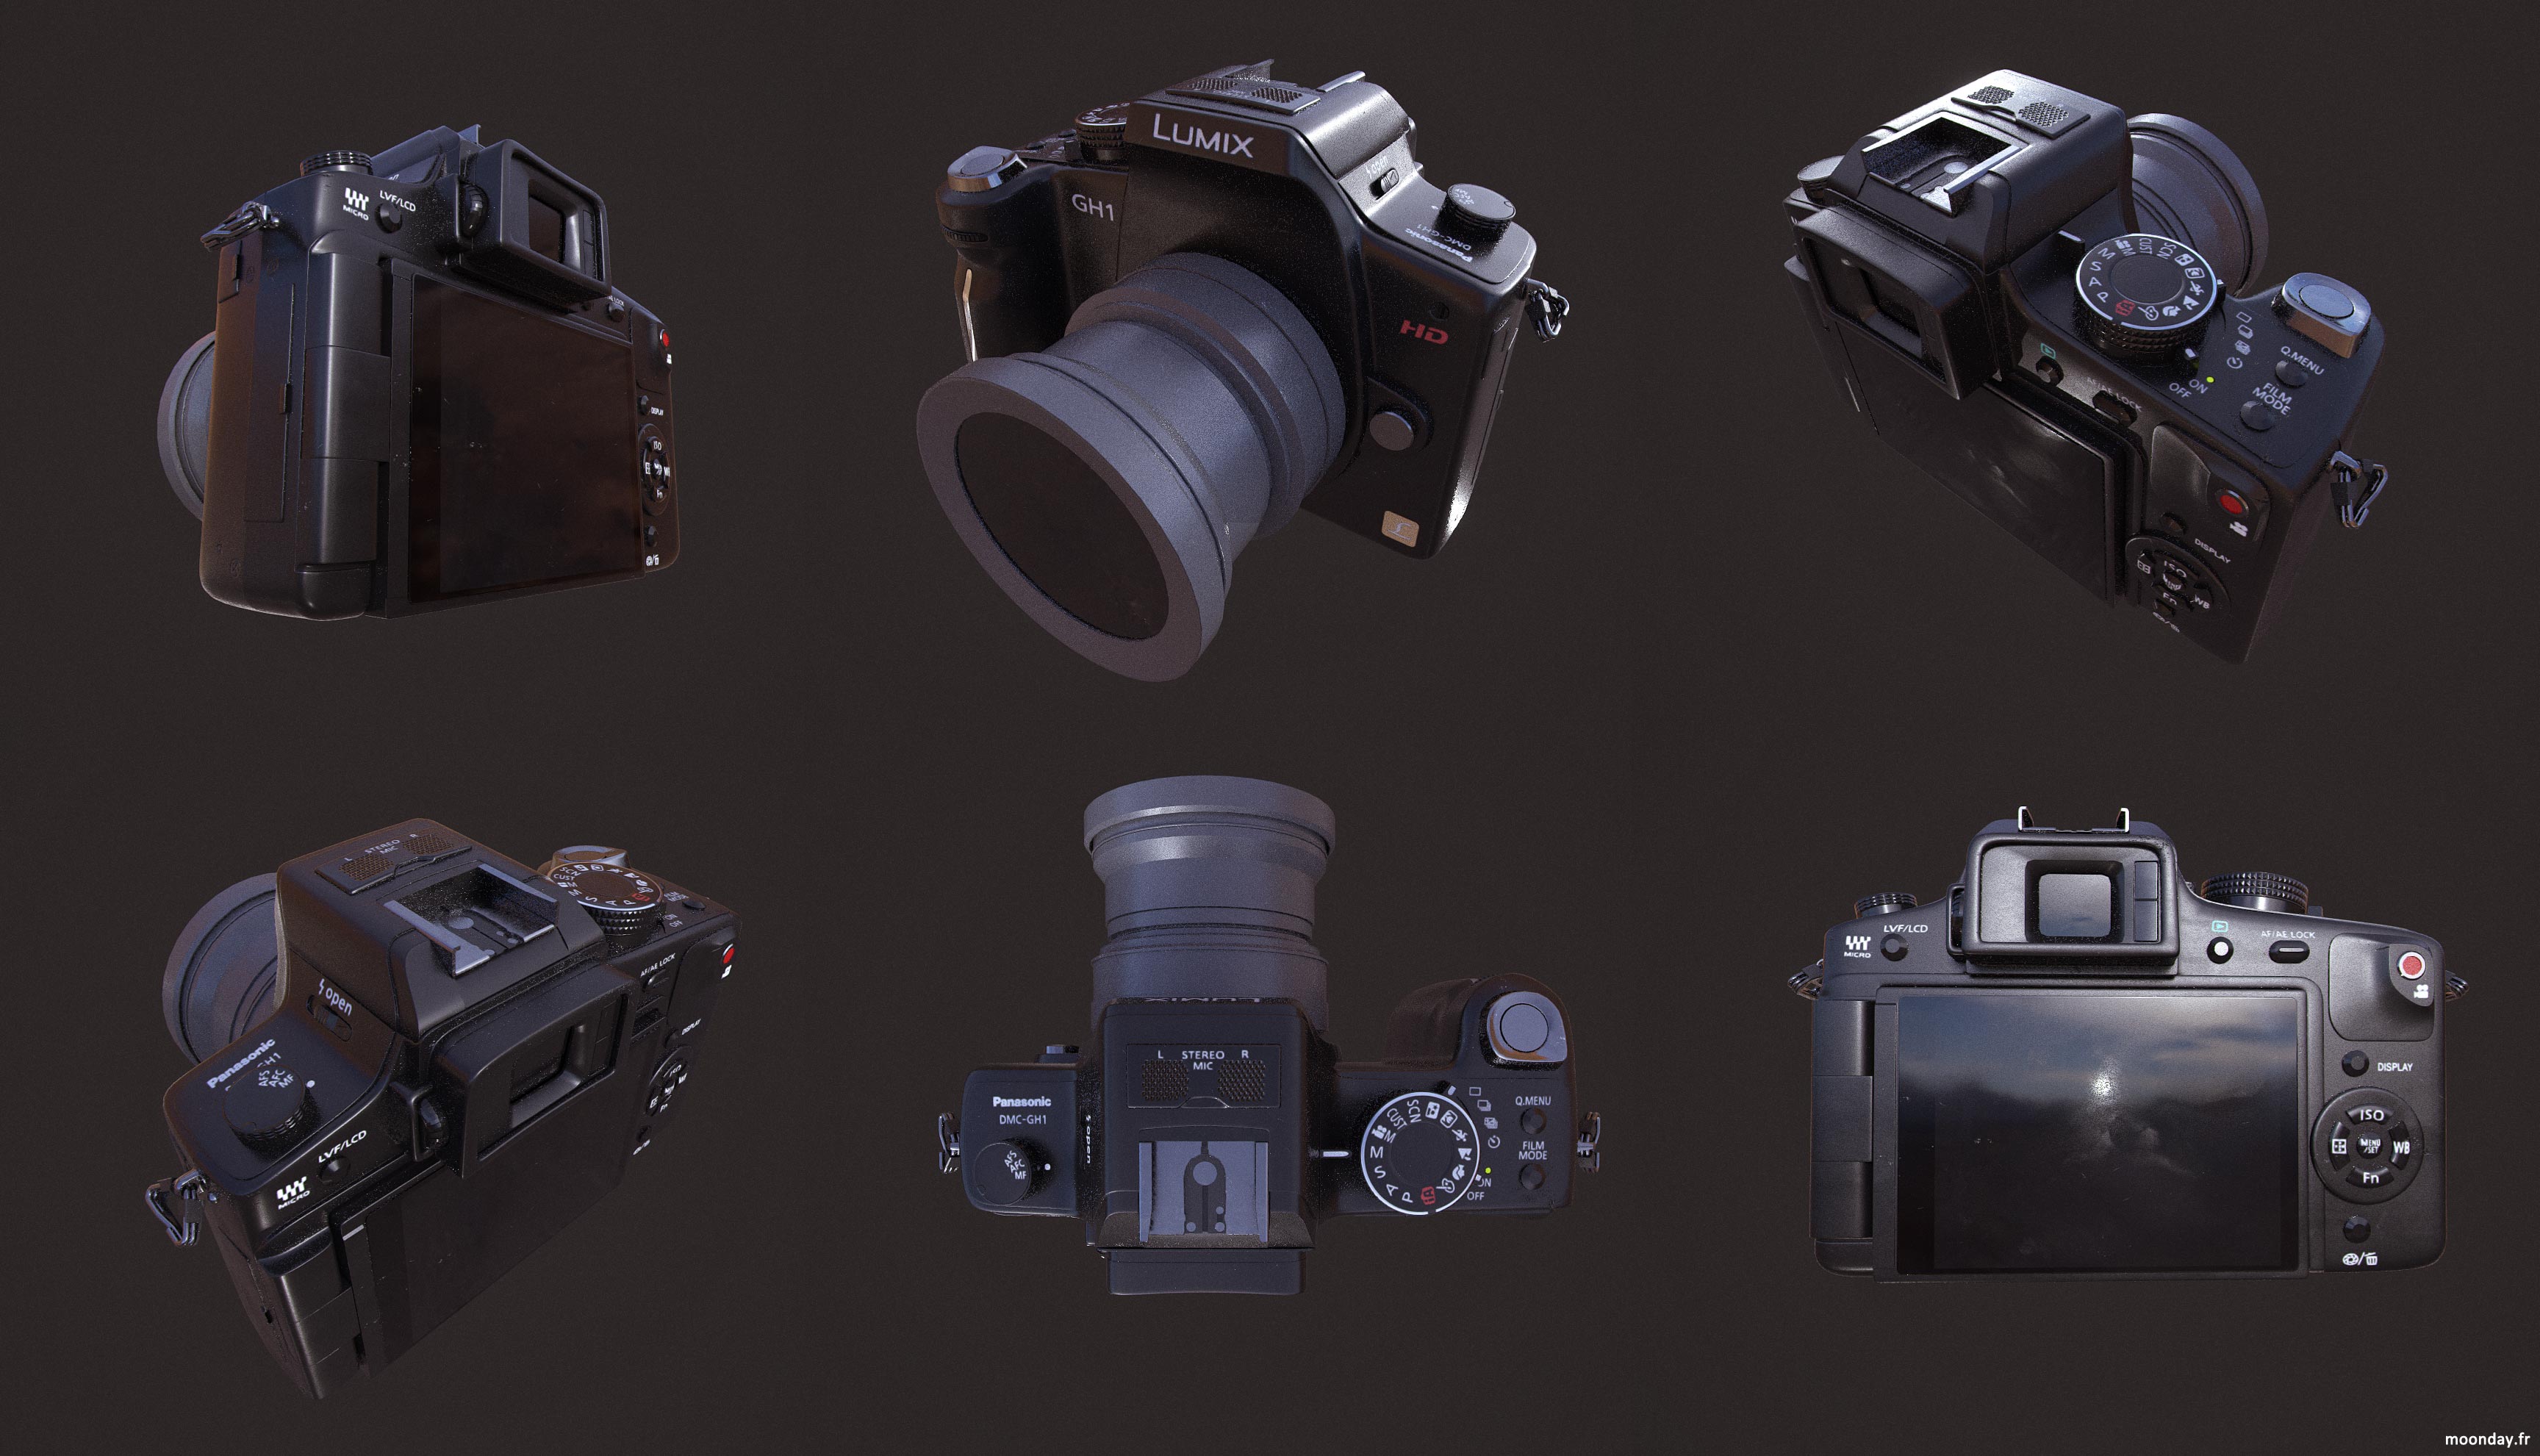
Props took a little more time to be achieved, the camera is only a detail of the project but as I’ll use it in a future animation project I’ve created an almost complete model using Sub-D modelling workflow. Same process for the Kawaii cat plush.
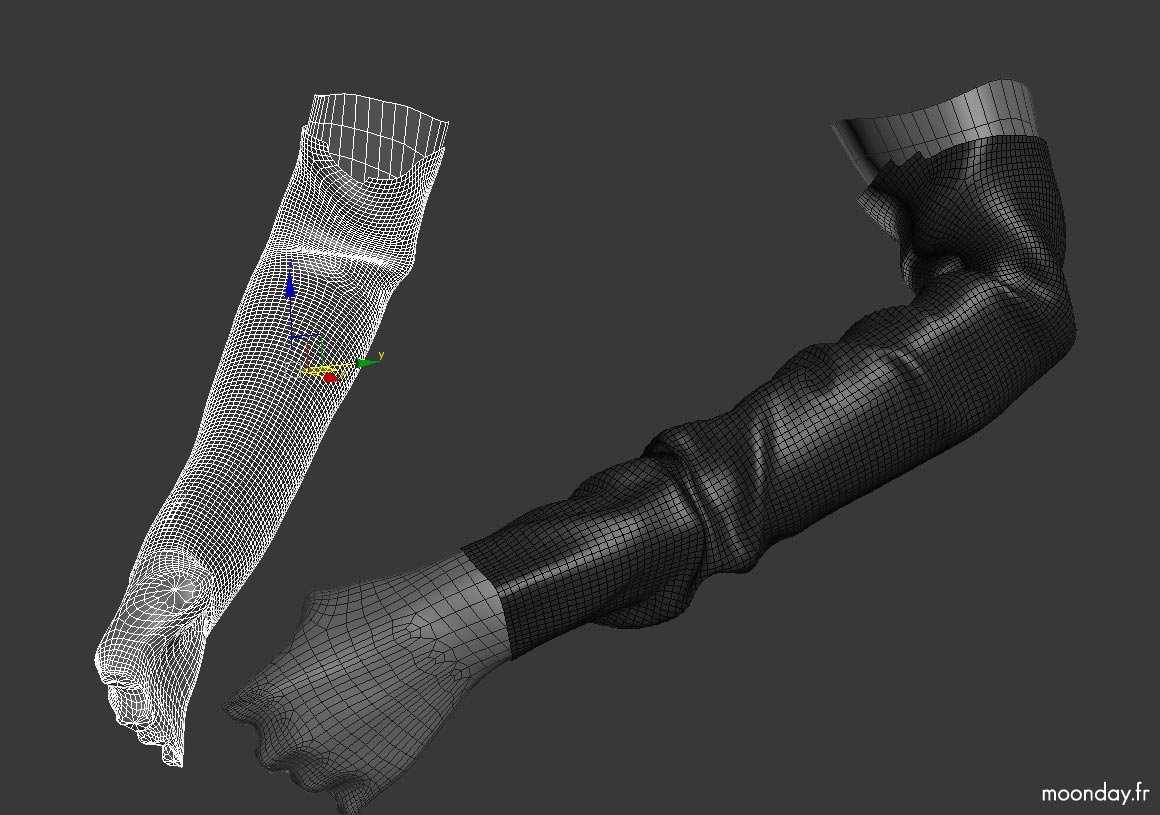
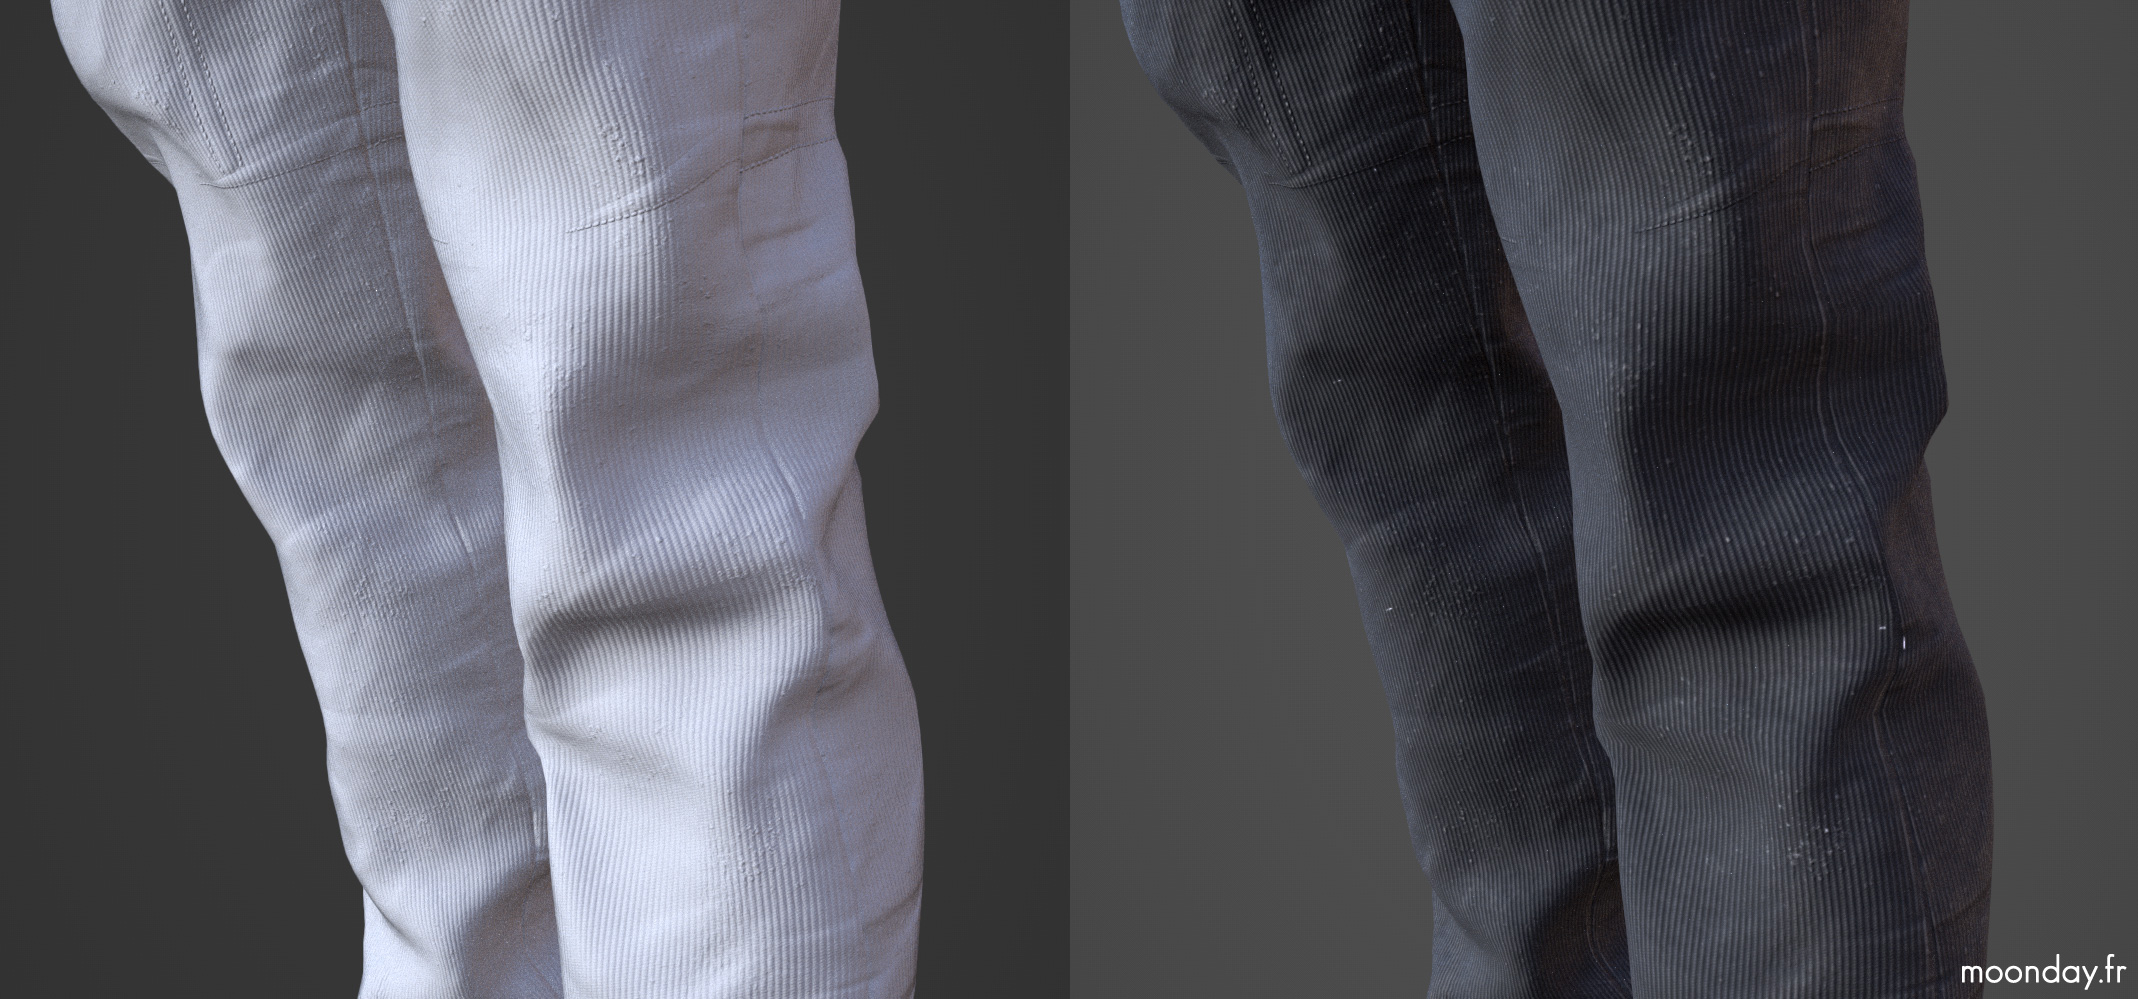
Trousers and sweater, based on my actual clothes, were modelled like real world clothes, using splines patterns then I ran a cloth simulation to suit my 3D clone, I ran a 2nd simulation to pose the characters and in the end I ran some more cloth simulations to adjust folds positions at specific areas.
Here is a video showing the process of adjusting clothes live:
Texturing
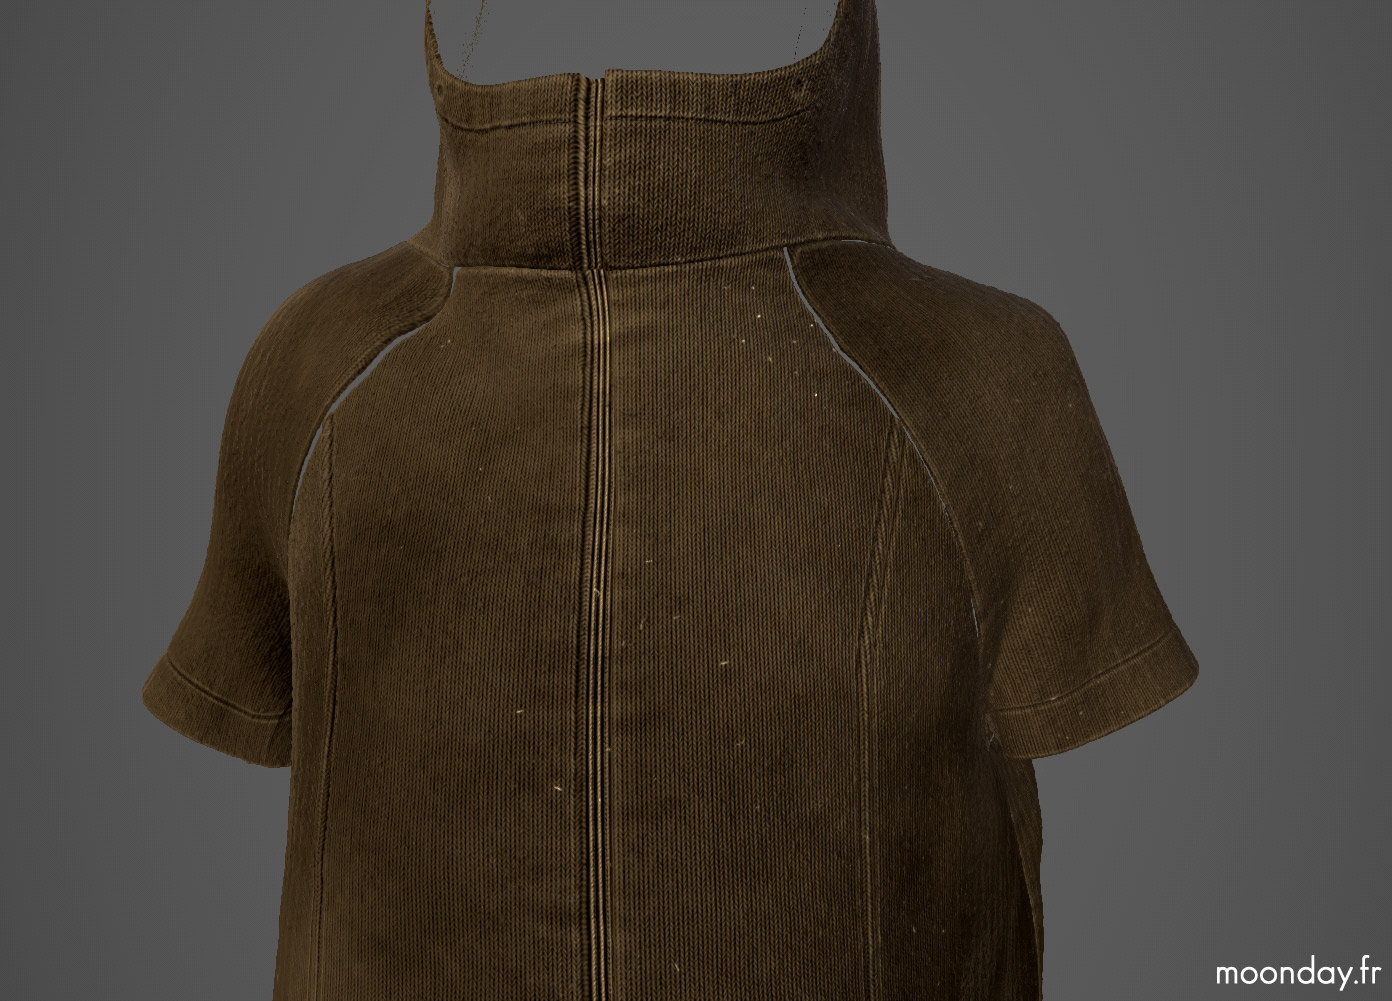
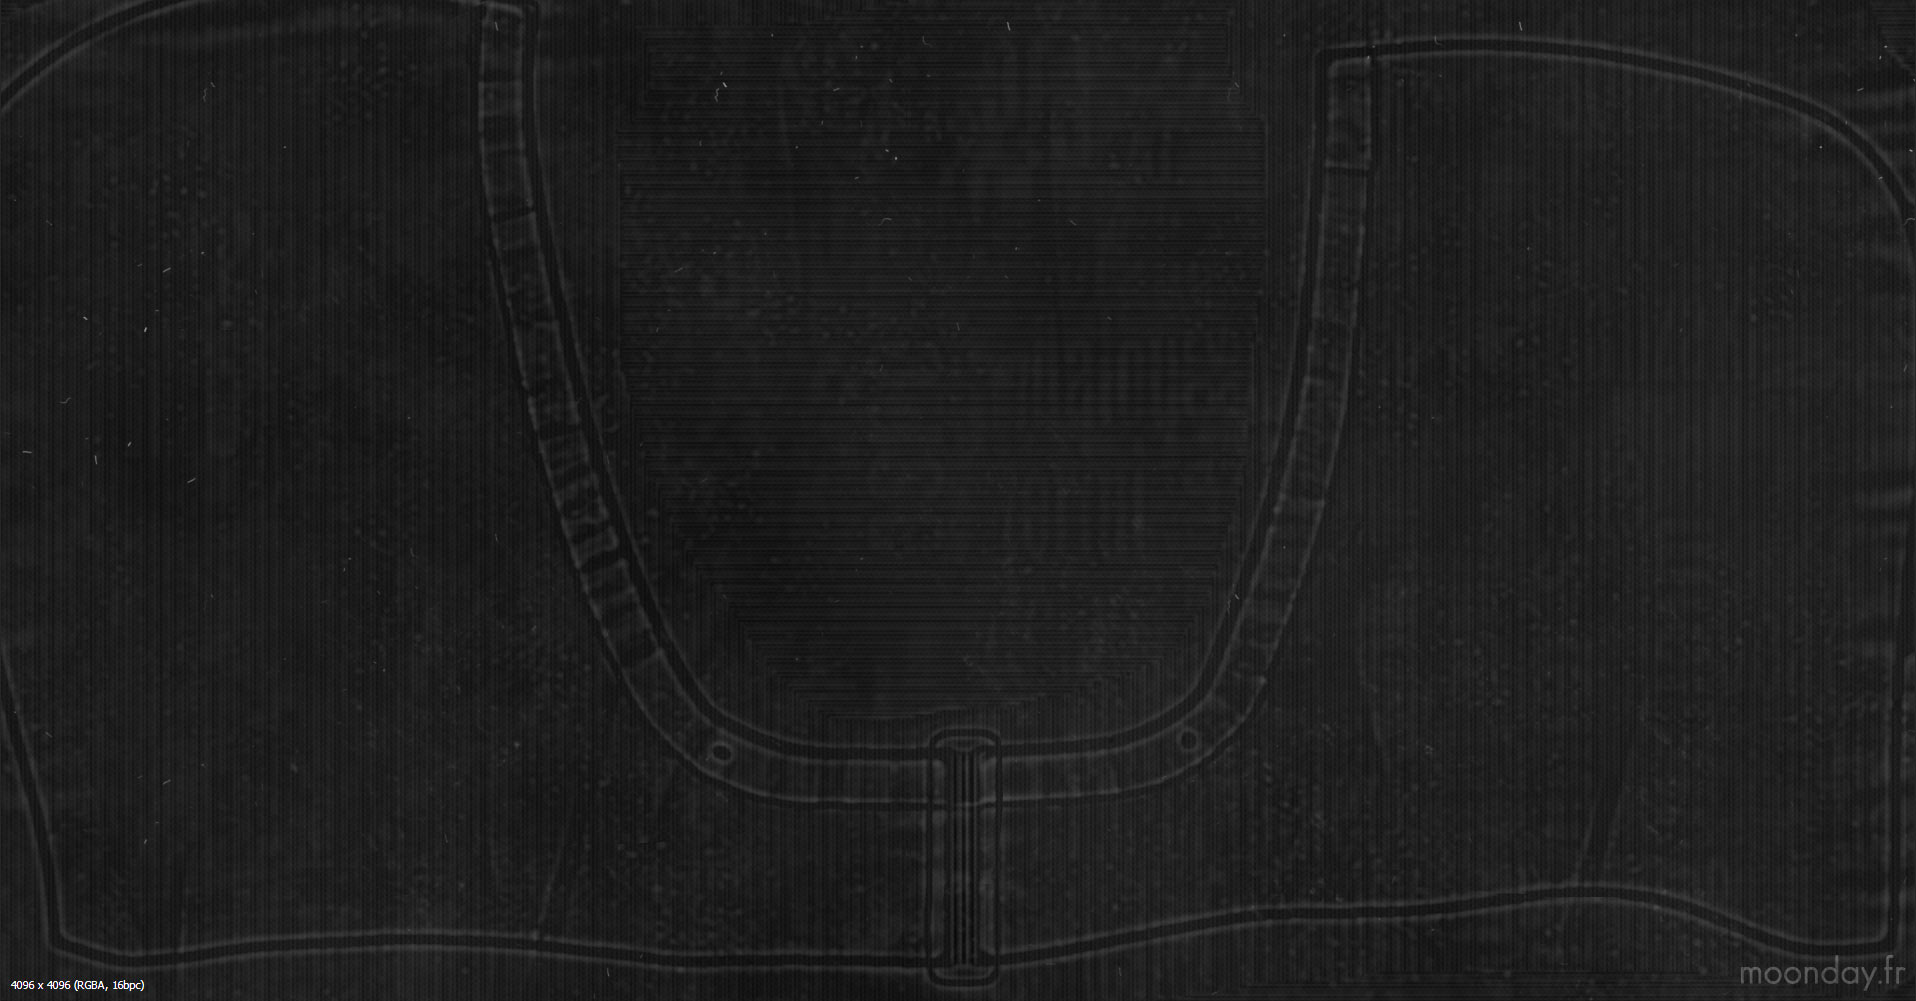
Substance Designer was (almost) the main software in the texturing process. I passed many hours working on the sweater, adjusting normal bump and then creating diffuse from it with the help of some useful nodes like “cloth wear” to add an old look on the edges, giving them a lighter tone. To add more realism to the mesh I imported home made strings and fur textures I scattered with splatter nodes. However, except these imported maps and a couple of self-made folds height maps, most of the job was handled by Substance built in generators.
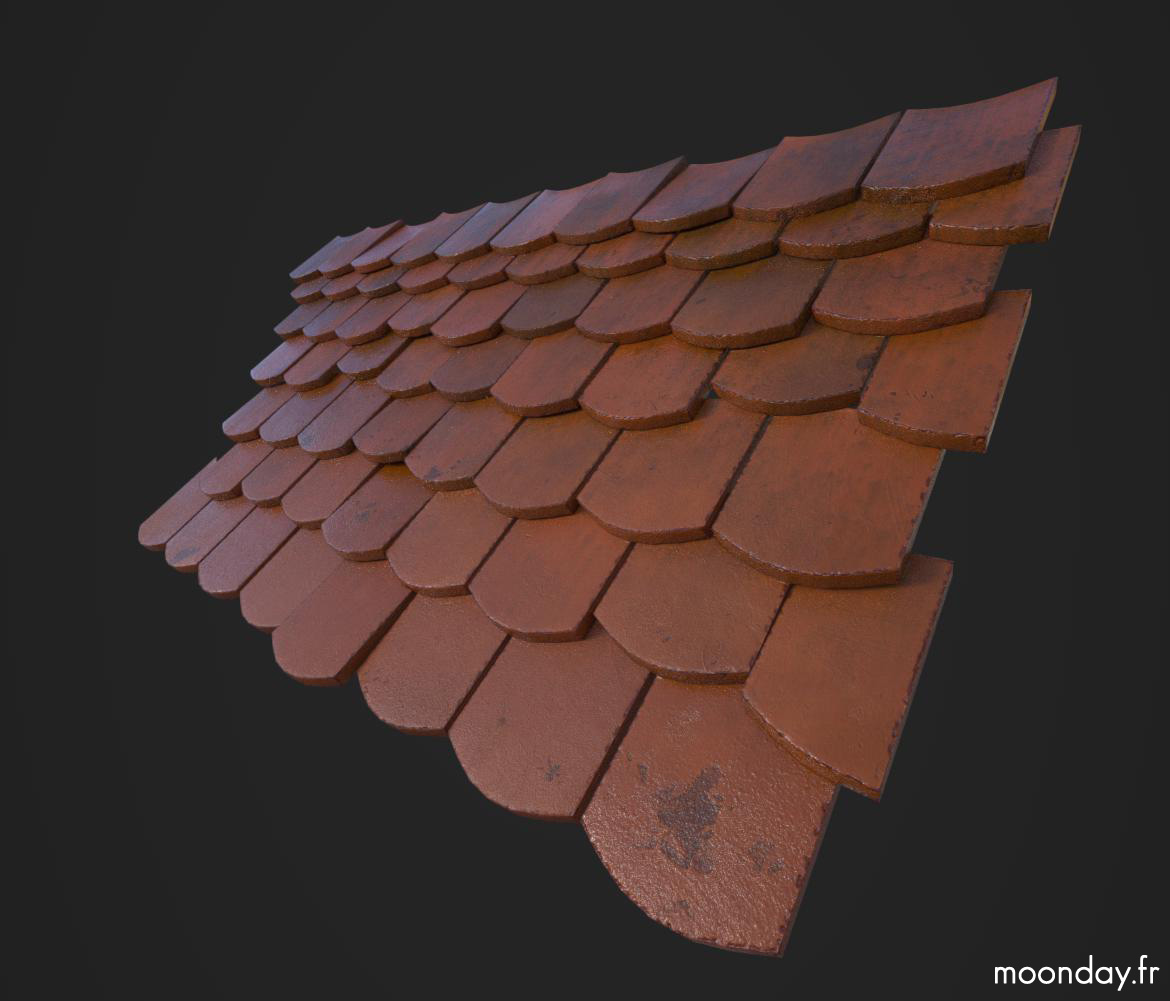
This time I could use one of the advantage of SD, a good example is the roof tiles of the project. Being able to create a base material and apply it to different meshes, all you need is bake new maps from the meshes (position, AO, etc.) and randomise the main parameters, done.
Compared to the time I passed on painting textures on my shoes last year (old model) I think a SD texturing workflow could have been done in 1 day.
Switching from different diffuse textures while keeping the normal and roughness informations and all this in live allowed me to test different combination for the Plush look.
iRay was a great help to visualize what the final render would look like.


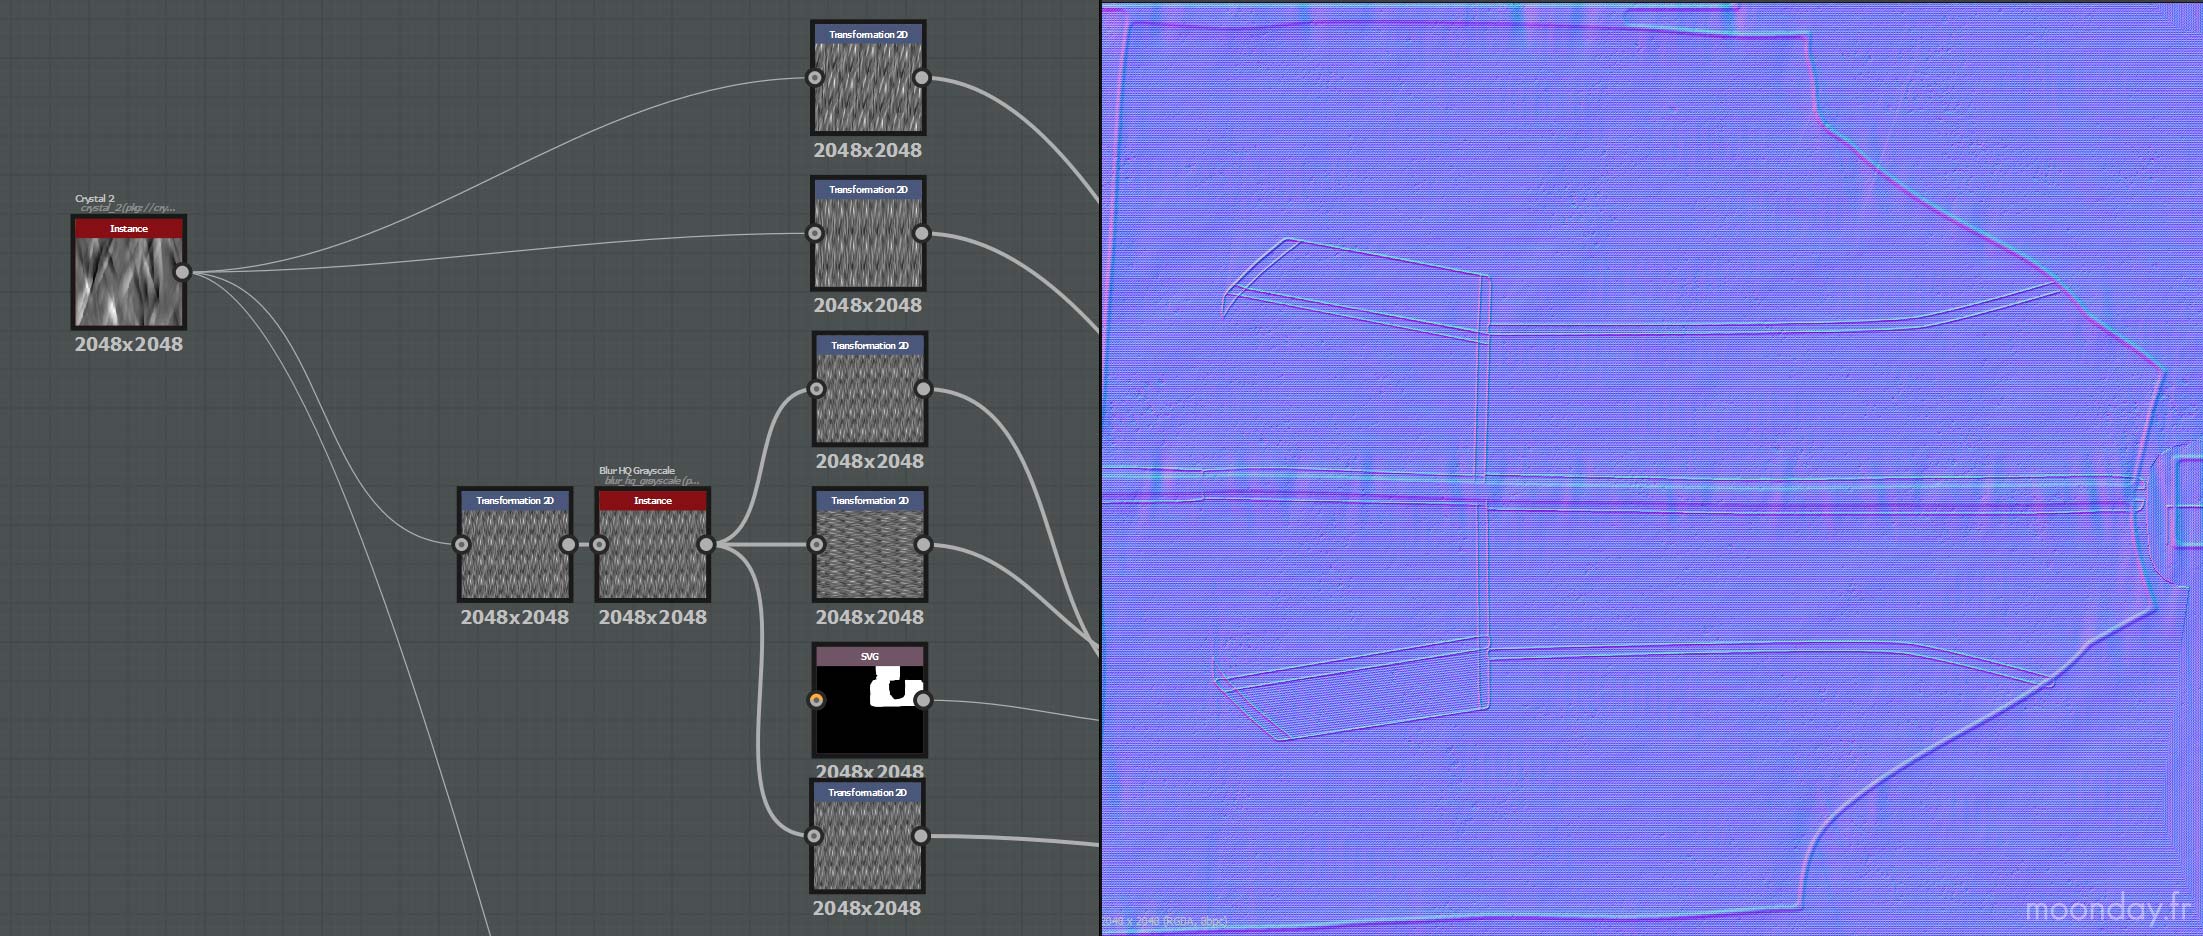
Blended with a few masks, crystal nodes were helpful to create random little folds on specified edges
Cloth wear generator applied to the hood
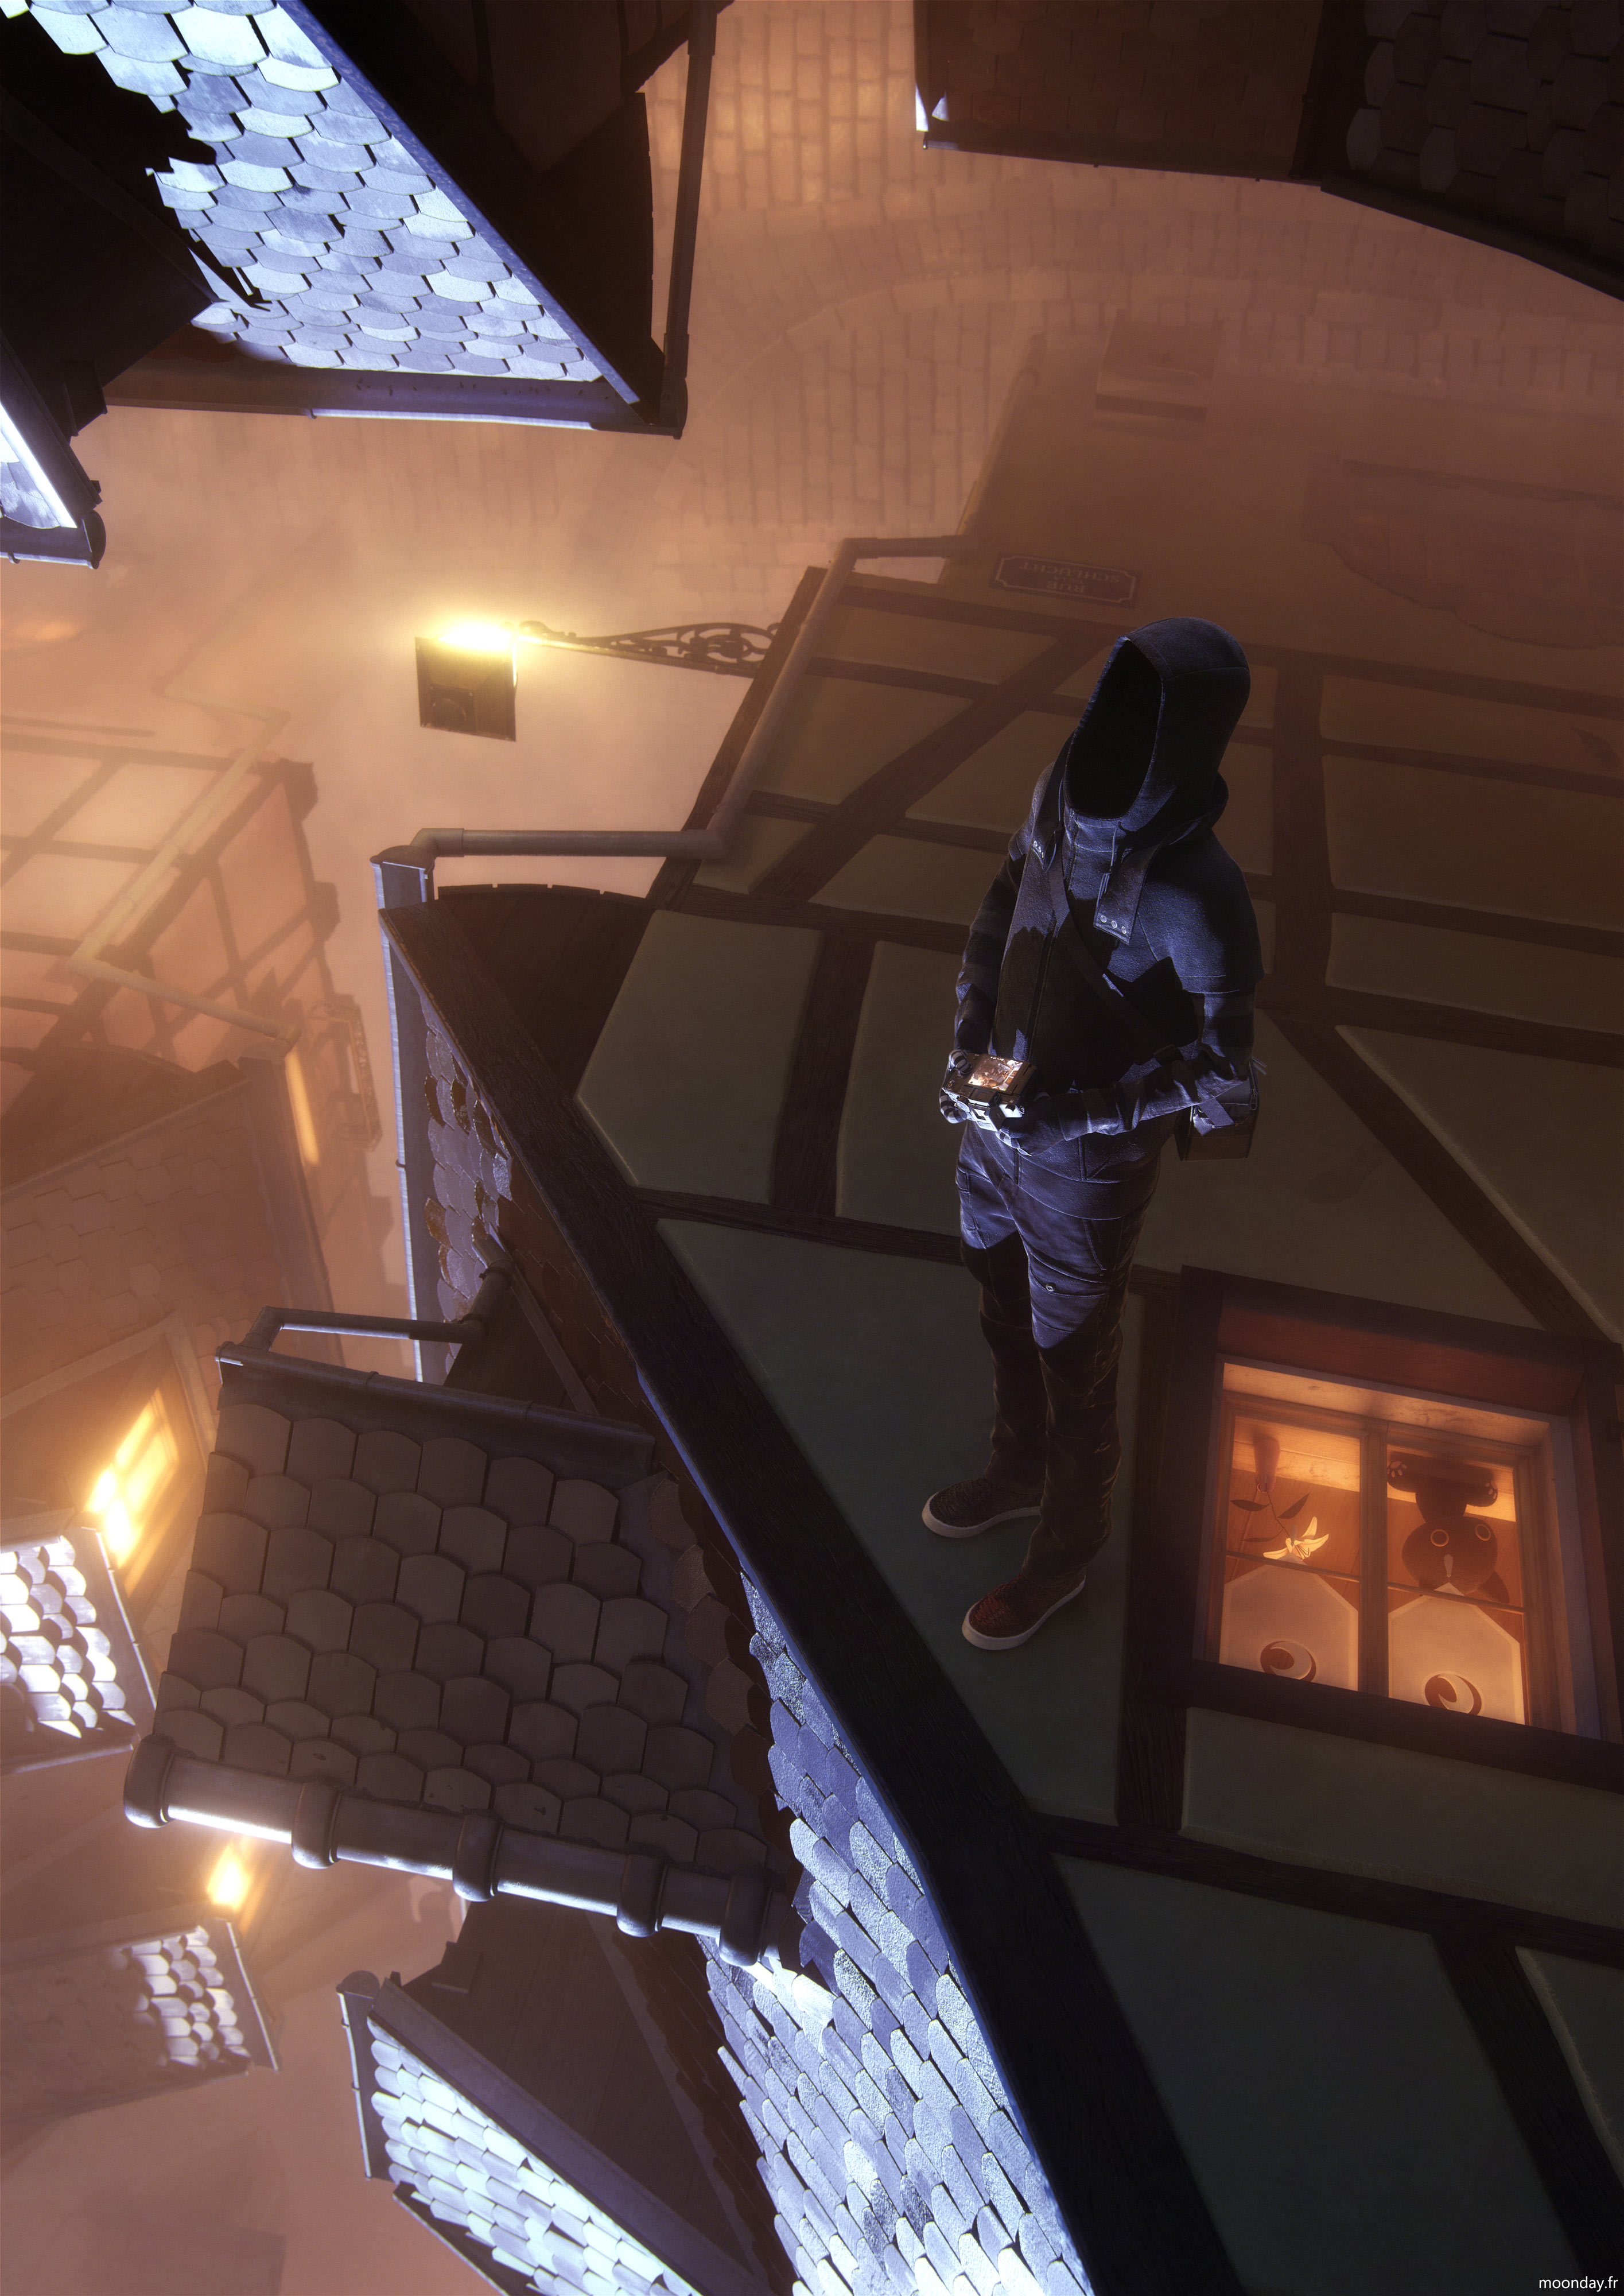
Rendering & Compositing
As I don’t own yet a Viking Warrior graphic card, Mental Ray was used to compute all the passes, IBL, moon, windows, environment reflection and Zdepth for the environment. The character had a few more passes.
Before launching the render process I took some time to play with the character colours and computed little tests on some props.
The original light mood was set during a more bright time of the day then I decided to add some fog.


Big images, for full res, please right click the image and choose to open the link in a new tab/window


Final image
Time lapse videos
Finally, here are some 3D models you can navigate around.